The field guide · Evening running
Headtorch or chest light for running: which position suits your route?
By James Thompson · Updated 14 October 2026
Some links in my articles are affiliate links. I may earn a commission when you buy through them.
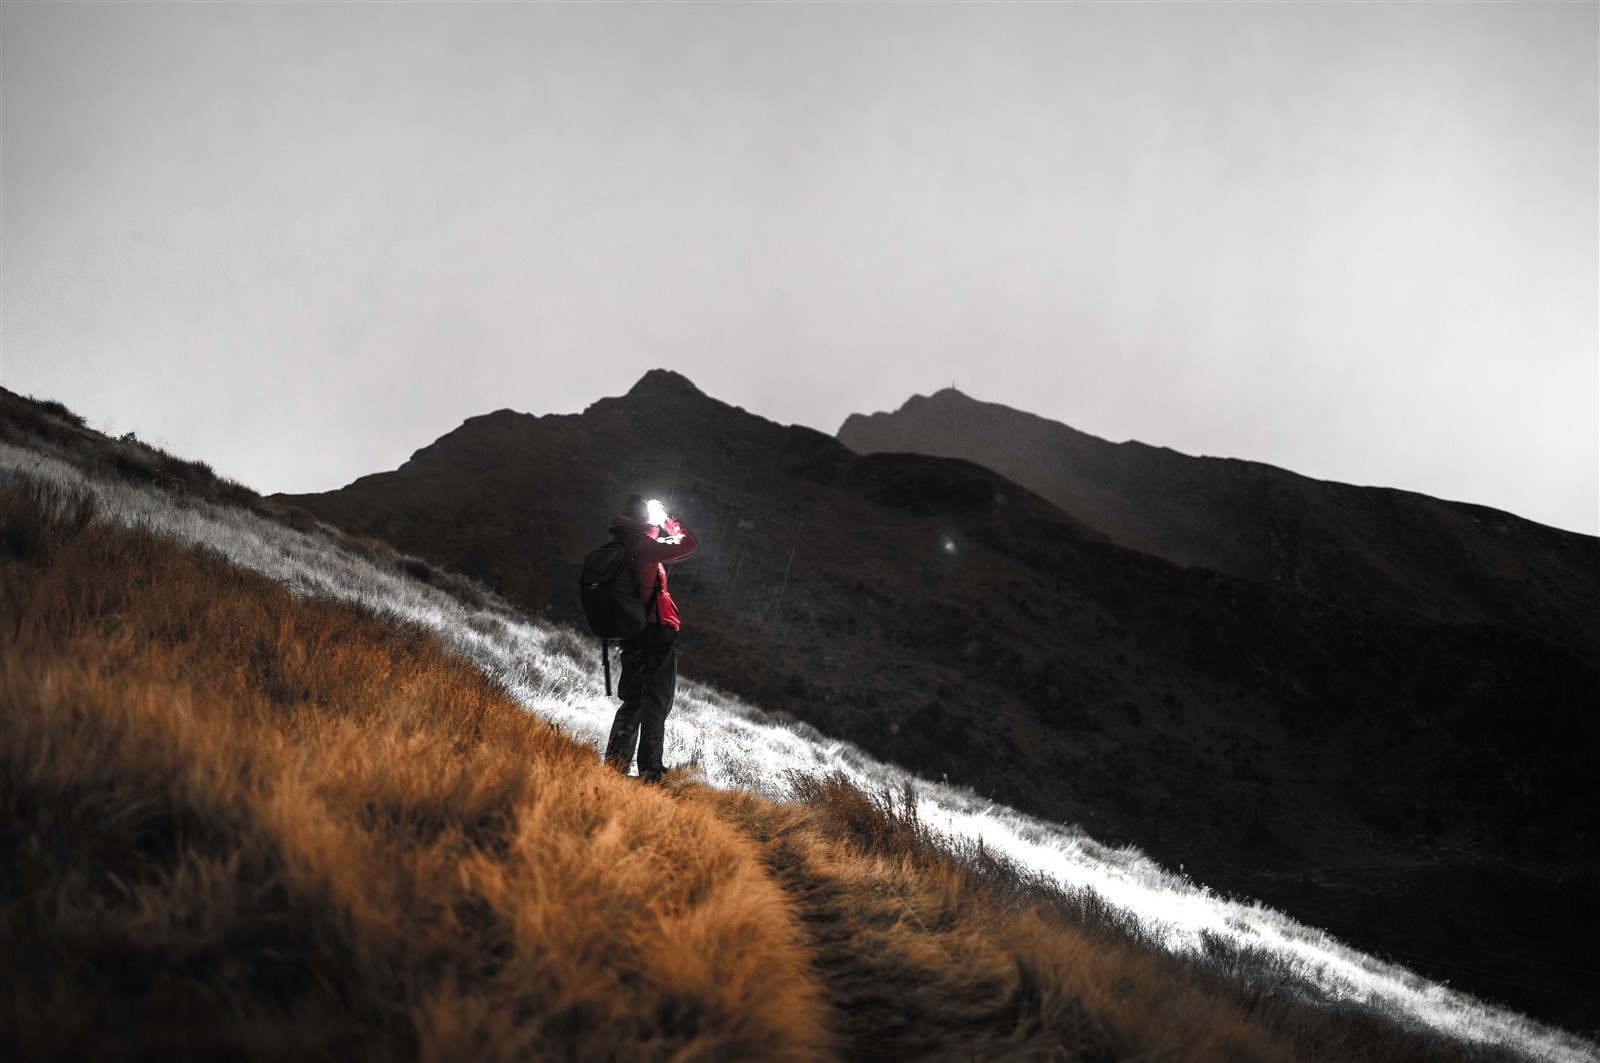
Choose a headtorch when you want light to follow where you look. Choose a chest lamp when keeping the forward beam on your route, with your head free of a strap, suits you better. On a straight familiar path, either can work; on a route with repeated side turns and navigation checks, I would usually start with a headtorch.
You can compare Avanto SolX1 Pro and Proviz LED360 in the chest-light buying guide. Before choosing one, think through the few moments below. They tell you more about which arrangement will suit a run than comparing headline brightness.
Table of Contents
ToggleWhere does the light go when you look sideways?
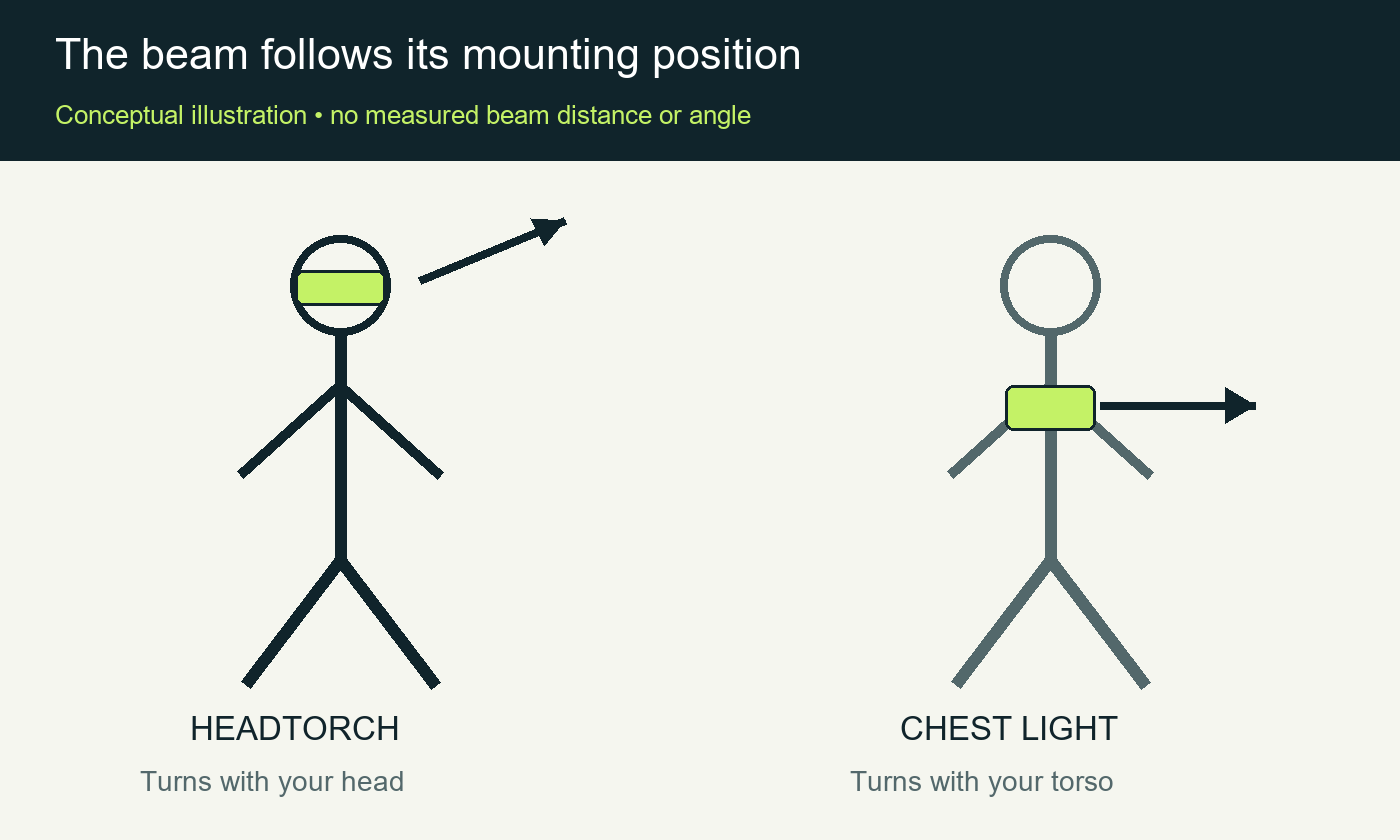
Imagine running along a path and glancing towards a gate. With a headtorch, the light moves towards the gate as your head turns. With a chest unit, the forward beam stays with your torso until you turn your upper body or adjust the unit.
That can be welcome if you want to look briefly at a companion while keeping the path illuminated. It is less convenient if you need to read a sign on the opposite side or check a narrow turn. A simple indoor check is to put on the light and look at objects ahead and to either side without moving your feet. You will feel which arrangement needs more body movement.
Let your most demanding section decide
A largely lit commute with a short dark park section asks less of your lamp than a whole run on an unlit, winding trail. Choose for the place where you need the clearest view, then lower output when the street lighting makes that possible.
For narrow turns and searching for waymarks, I prefer the flexibility of a head-directed beam. On a straightforward path, a chest light offers a useful route to hands-free illumination without another strap around your hat. Its tilt adjustment should let you place the beam on the ground ahead while you maintain your normal posture.
There is no need to replace working kit because a different mounting position looks appealing. If your current beam shows the near ground and the next stretch clearly, concentrate on comfort and controls. Our running headtorch guide explains beam spread and the everyday checks.
Headwear and controls can settle the choice
Try a headtorch over the hat or headband you actually wear. Check whether the lamp clears a cap brim, whether its angle stays put and whether a hood lets you reach the buttons. A fit that works bareheaded can feel quite different with winter layers.
I have used the focused and wider settings on the Blukar two-pack for the path and pavement edges, and its dimming is useful as the street lighting changes. I would practise the controls before heading out, particularly when using gloves.
A chest harness avoids the headband interaction, but adds a different control location. Try reaching its button while your jacket is zipped and your pack is loaded. The front lamp should be accessible without moving a flask or dragging the harness sideways.
Check the vest before adding another harness
A chest light and a hydration vest both occupy space around your shoulders and sternum. Put them on together with the flasks filled. Look for a lamp housing resting on a buckle, a strap pulling across a bottle pocket or a rear light disappearing beneath the bag.
The chest-light vest-fit guide gives a loaded fitting sequence. This is worth doing even when a manufacturer calls its harness fully adjustable: that describes adjustment, rather than compatibility with every vest and body shape.
If the light forces a comfortable vest out of position, a headtorch may solve the lighting need more simply. You can keep water and gels arranged where you already reach them.
A light to see by and a light to be seen by
The front beam needs to reveal the route. A small clip light is useful for showing your position, but it is a different purchase from a lamp that illuminates the ground. Choose both positions deliberately when your run moves between an unlit path and roads.
Both chest units linked above have rear red lighting, but that only contributes when the unit is exposed. Check the setup from behind with your jacket and bag on. Our clip-on running lights guide covers unobstructed attachment points.
Before speaking face to face with someone, redirect or lower a headtorch beam. With a chest lamp, check the angle too: mounting lower does not make every setting comfortable for someone standing in front of you.
Compare the runtime for the mode, then plan a margin
For a 90-minute outing, start with 90 minutes of useful lighting plus time for a slower return. Check the stated duration at your chosen brightness. A five-hour low-mode claim does not establish that the brightest setting lasts five hours.
Avanto’s SolX1 figures distinguish full and half output. Proviz gives a maximum duration without the same mode breakdown on its page. That affects how confidently you can plan from the specification; it does not prove one lamp performs better on your route.
Keep the light charged and check it on a short familiar route first. For a night event, read the current organiser requirements through the Race Day Pack Planner and official event information. An event specifying a headtorch may require that exact type even if you also carry a chest lamp.
A practical choice for your next run
If the headband is comfortable and you regularly look around bends or towards signs, keep the headtorch option at the top of your list. If the route is straightforward and you want to free up your headwear, try a chest harness that fits cleanly with your layers.
The chest-light shortlist compares charging, sizing information and published modes. For the rest of the evening setup, the winter running kit checklist helps you organise the layers and small essentials without overpacking.