Some links in my articles are affiliate links. I may earn a commission when you buy through them.
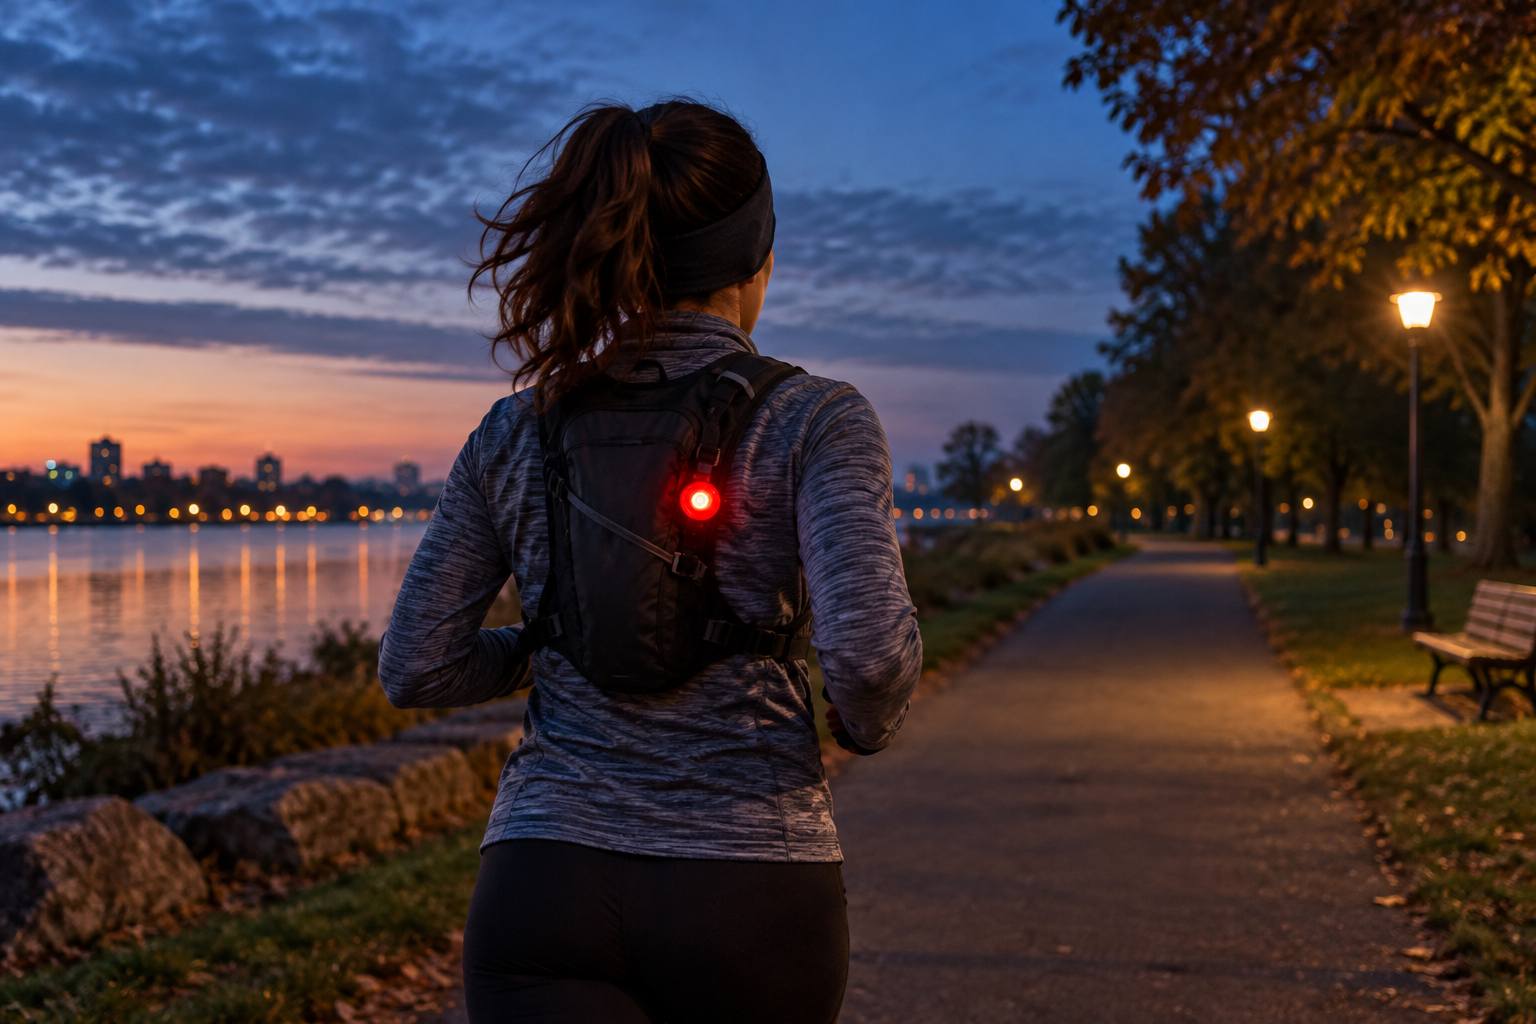
A small running light is easy to add to your kit, provided you have somewhere useful to attach it. Before comparing brightness or battery life, put on your jacket and loaded pack and find a spot that stays visible when you move. A light hidden behind a swinging arm or a loose hem has lost much of its usefulness.
The Nathan StrobeLight is a simple clip-on option for a belt, clothing or bag. The current listing includes blinking and steady modes. It suits the job of adding a visible point of light without another strap around your body.
Choose the attachment point before the light
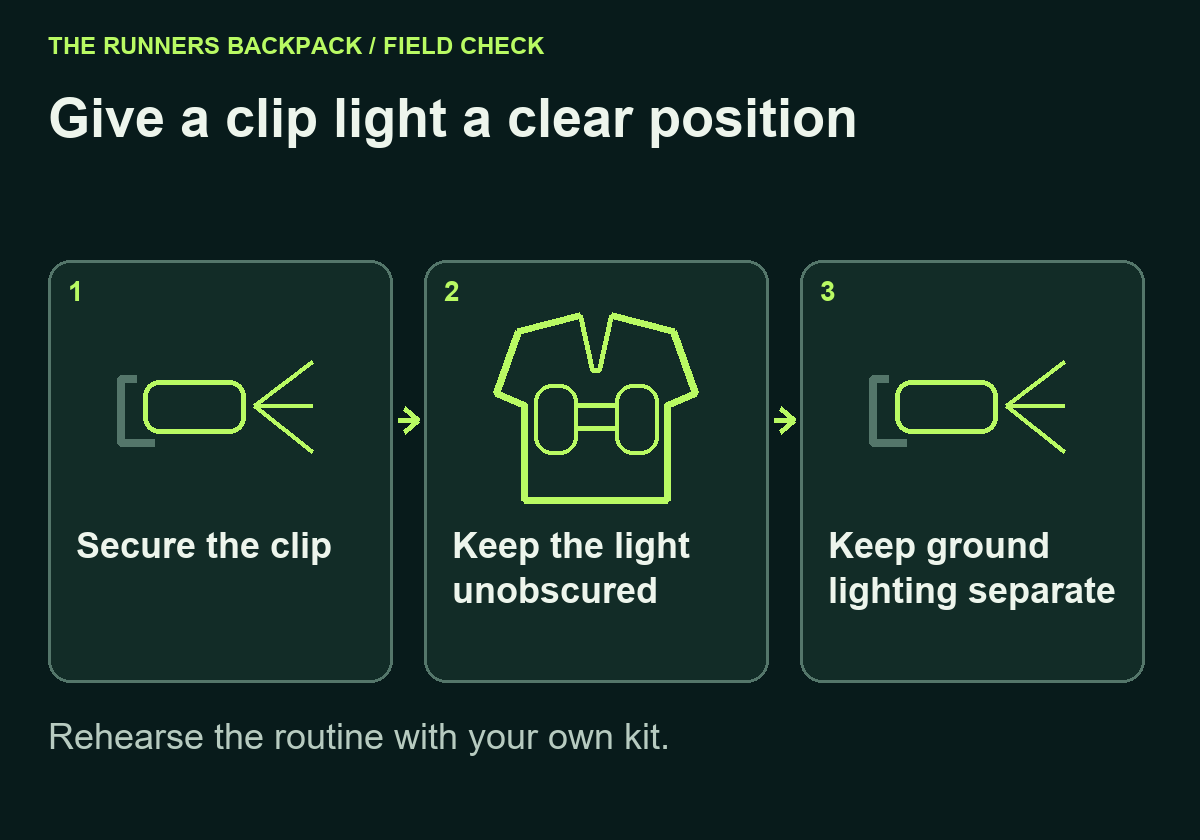
A firm section of webbing or a stable bag loop gives a clip a better home than a very loose edge of thin fabric. Check the clip opening against that material. Give it a gentle tug in the directions it may move, then jog a few steps to see whether the light rotates or tips towards the ground.
For a rear light, wear the pack you normally carry and check from behind. A light clipped at waist height can disappear beneath a jacket. One on the pack may work well on the outward commute but be absent when you leave the pack at home. Make each version of your kit work in its own right.
Check visibility while moving
Ask someone to look from the front, side and rear while you swing your arms and bend slightly as you would running. Do this in a safe place before the outing. Check again with your hood up or an extra layer on if that changes what covers the light.
Use the steady or blinking setting on the Nathan light to suit the situation, and check that you can identify the selected mode easily. A second attachment point may improve coverage from another direction more usefully than placing two lights together in the same spot.
Keep a head torch for seeing the ground
A chest lamp is another option for illuminating the path while keeping your headwear free. The running chest-light guide compares harness fit, charging and useful runtime. Keep an exposed rear visibility light if your bag covers the chest harness’s rear unit.
A clip-on visibility light adds a point others can notice. For an unlit path, choose a head torch with a beam that lets you see the surface ahead at your running pace. Try the two together so one does not create distracting glare in your glasses or reflect from a front pocket.
Keep the rest of your route choices sensible too: familiar paths, places to cross and a plan for changing conditions. Add the light to the winter packing routine so checking it becomes as ordinary as finding your keys.
Make the battery routine easy
Check the supplied battery or charging instructions for the exact light you buy. Quoted runtime may apply to a particular mode, so identify that setting before planning a long outing. Keep a rechargeable light near the charger after use, or store the correct replacement batteries where you can find them.
Before leaving, check that the lens is clean, the clip is fully seated and the light is on. The compact Nathan clip-on is a useful choice when you have a secure attachment point and want uncomplicated visibility. Buy the mounting arrangement that fits your kit, then make the position check part of getting dressed.