Some links in my articles are affiliate links. I may earn a commission when you buy through them.
A replacement hydration bladder needs to fit as a complete drinking setup: pouch, top closure, hanger, connector and hose. Match those to your vest before choosing a capacity. Two reservoirs marked 1.5 litres can have different shapes and leave very different amounts of room for a jacket.
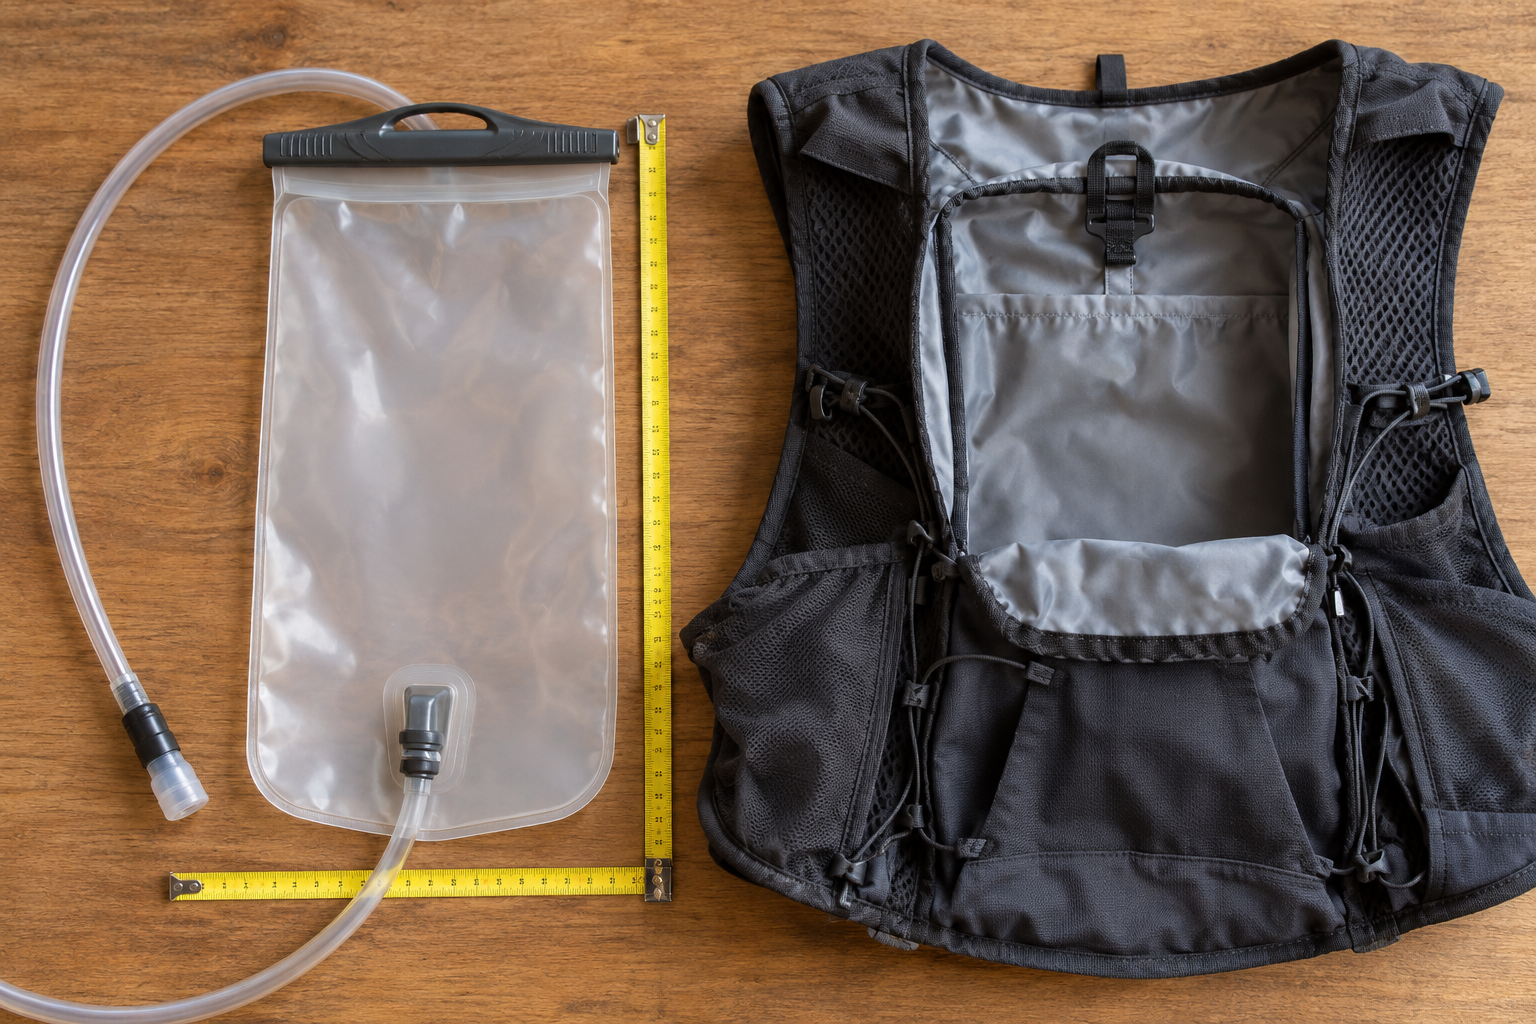
If the original bladder fitted well, keep it beside you while comparing replacements. Note its model and capacity, photograph the connection and measure the usable sleeve, including the entrance. You are trying to preserve the parts of the old setup that worked.
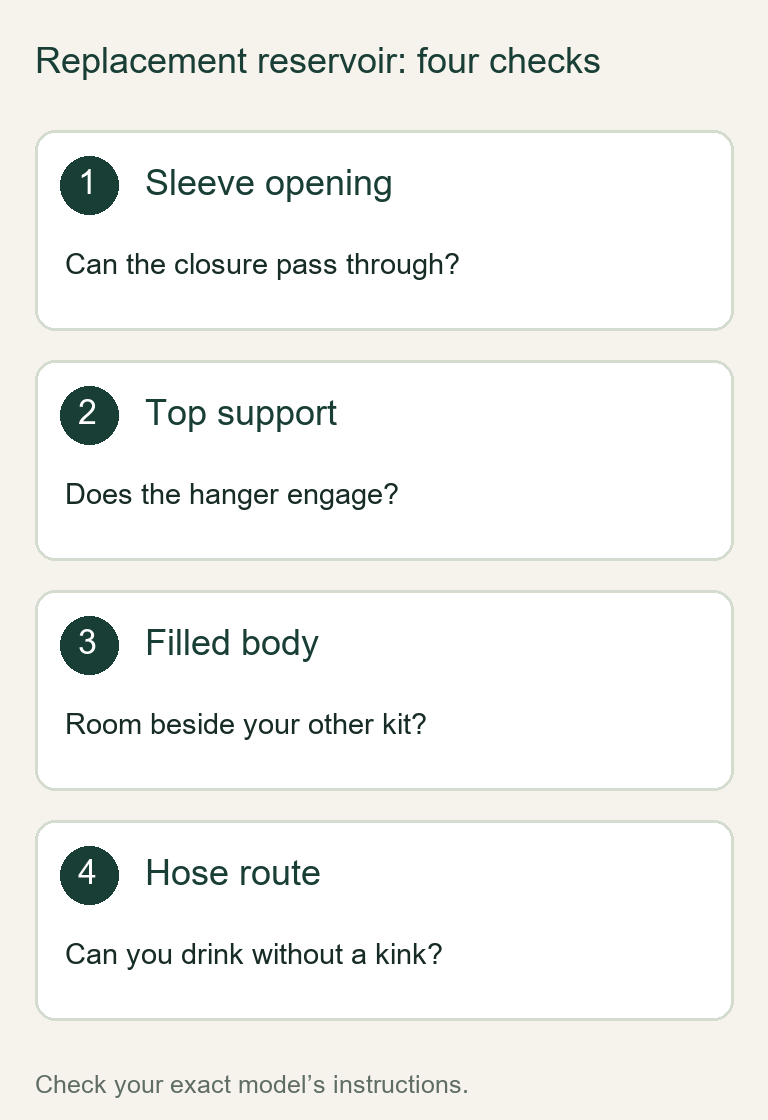
Find the reservoir compartment rather than measuring the whole rear pocket. Check its height and width, the opening you must pass the pouch through, and the space available at the bottom. A narrow entrance can be the limiting point even when the compartment behind it looks generous.
Compare those measurements with the maker’s drawing for the selected capacity and generation. Allow for the rigid slider or screw cap as well as the flexible pouch. Check whether published measurements describe the empty reservoir; a flat width does not tell you how thick it becomes when filled.
Make a simple paper outline if you are comparing an unfamiliar shape. It can reveal that the top is too wide or the body too long, but it cannot prove loaded fit. When the reservoir arrives, fill it to the amount you intend to carry and pack your normal kit alongside it before relying on the setup.
Check what supports the top and what sits at the bottom
Look inside the sleeve for the intended hook, loop or clip. The reservoir’s hanger must engage with it securely without pulling the closure into a fold. Some tops offer a broad handle; others use a smaller slot or a separate attachment. “Universal hanger” describes a design intention, not a promise about every vest.
Seat the filled pouch in the intended compartment and check that the top is supported in the way both makers describe. Don’t suspend it from the drinking tube or a connection. If the sleeve was designed around a particular reservoir, check the vest maker’s replacement list first.
At the base, leave room for the outlet and its bend. A reservoir with a side exit occupies space differently from one whose tube leaves near the centre. A connector trapped under the filled pouch or pressed against a firm item needs a different packing arrangement.
Follow the hose all the way to your mouth
Trace the route from the reservoir outlet to the pack’s hose opening and along the shoulder. Check whether the bite valve passes through that opening or whether the maker expects you to detach an approved component. A hose that cannot be threaded through cleanly is a fit problem even if the pouch is perfect.
Use the pack’s intended guides so the hose does not swing across your arm. Leave enough slack to turn your head and lift the valve without tugging the reservoir upward. Then check the other extreme: a long loose loop can catch on your elbow or trail-side vegetation.
Try this with the vest on, the water loaded and the chest fastenings adjusted. Reach forward, turn your shoulders and take a drink. If flow drops only when you wear the pack, inspect the route for a bend under a strap before assuming the valve is faulty.
Don’t shorten a tube or remove a fitted end just to make it look tidier. First check the model’s instructions and whether doing so affects a connection, insulation sleeve or replaceable component.
Keep the connector and valve within a verified system
If you want to retain your old hose, identify the connector family and exact replacement compatibility. The fact that two fittings push together or make a click does not establish that their seals, shutoff valves and locking parts are designed to work together.
HydraPak’s Plug-N-Play fitting is an example of a named connection system. That name is useful when choosing its specified parts; it does not establish compatibility with another brand’s similar-looking fitting. Check the original reservoir and replacement-part instructions rather than buying by appearance.
A complete reservoir supplied with its own hose and valve removes one uncertainty. It still leaves the sleeve, hanger, hose opening and valve reach to check. If the only fault is a worn bite surface or damaged seal, a maker-approved spare may restore your existing setup without replacing the pouch.
Do a loaded check before your next long run
Assemble and close the reservoir exactly as instructed, then check it outside the pack over the sink. Dry the outside so any new moisture is easy to locate. Once it remains dry, put it in the sleeve with your usual water, food and jacket.
Confirm the closure lies correctly, the hanger is engaged and the hose remains clear. Walk, bend and jog near home, then inspect the compartment and connections. Repeat with less water in the pouch: a softening reservoir and a jacket moved into the back can change how the load sits.
The loaded-vest fitting guide covers the harness adjustments. For a new reservoir, the reservoir shortlist compares a shorter 1-litre pouch with a baffled 2-litre design. If the old setup leaks or resists drinking, use the leak and flow diagnosis to identify the part before ordering.
Keep the model name and a photograph of the assembled connection with your kit notes. The next time a valve wears out, you will have a more useful starting point than the vest’s storage-capacity label.