Some links in my articles are affiliate links. I may earn a commission when you buy through them.
If your hydration bladder leaks, take it out of the vest, dry the outside and look for where fresh water first appears. If it is hard to drink from, try it outside the pack with the hose straight and the valve correctly unlocked. Those two checks help separate a closure or component problem from a hose squeezed by your packing.
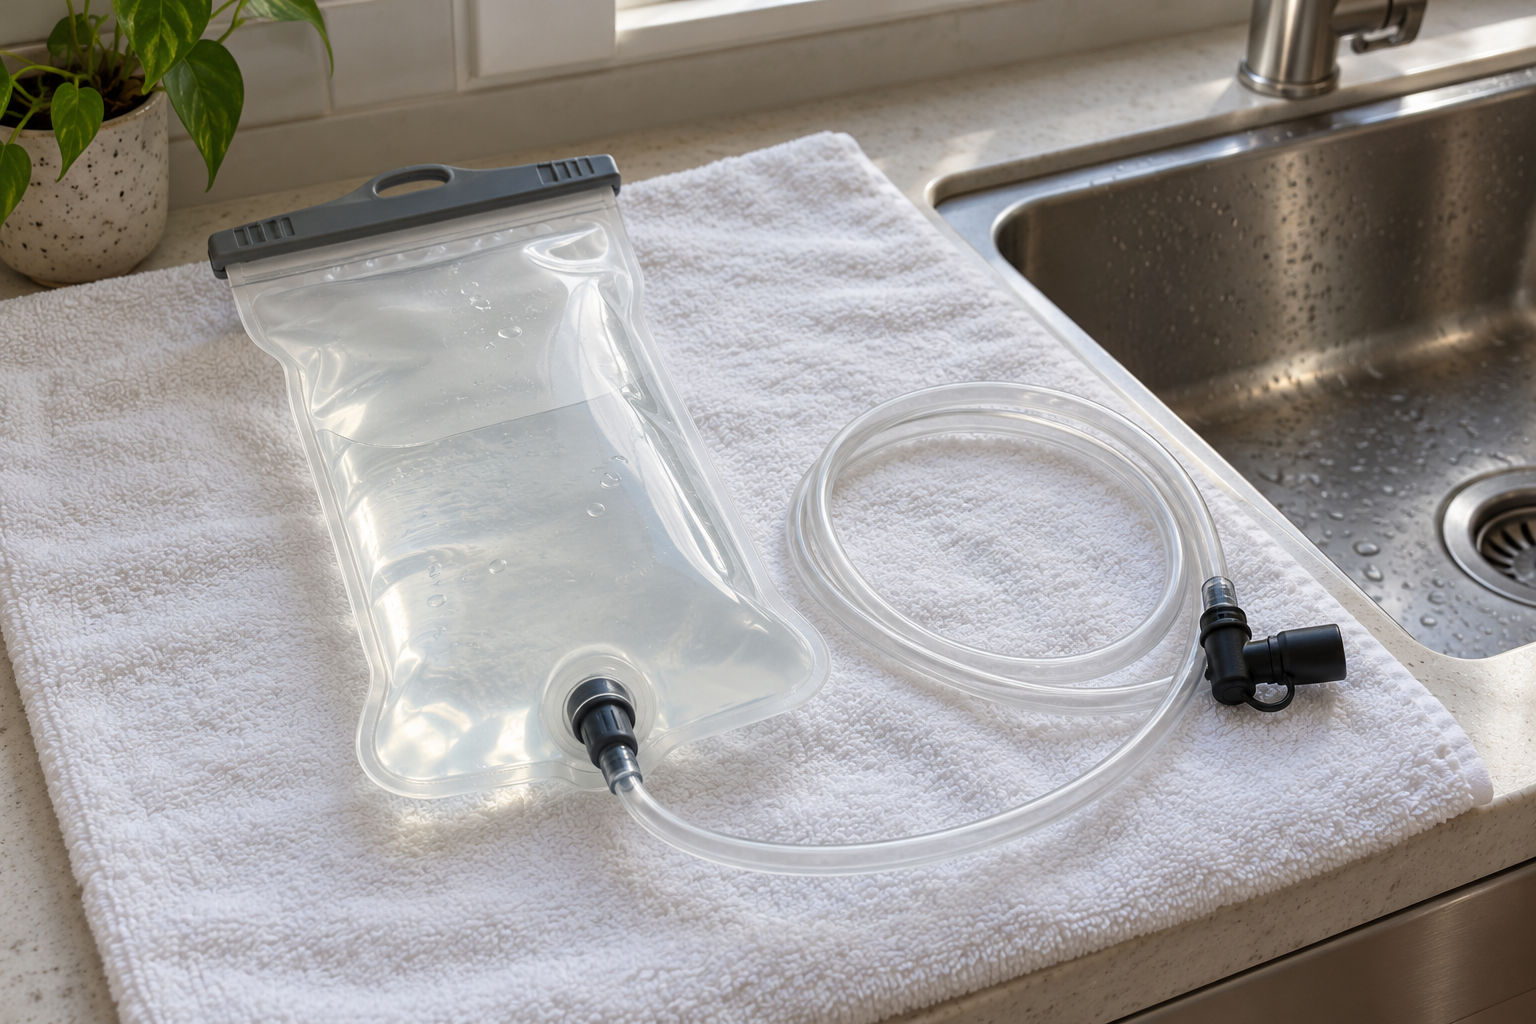
Work over the sink with clean water, changing one thing at a time. Leave a leaking reservoir out of your vest, especially when it would sit beside your phone or dry layer. For a run before the fault is resolved, use another sound drinking setup.
Water can run down the pouch and collect at its lowest point, so a wet base does not prove the bottom connection is leaking. Start at the closure, then follow the seams, outlet, tube and valve. A dry towel beneath the reservoir helps you see a new drip without confusing it with water left from filling.
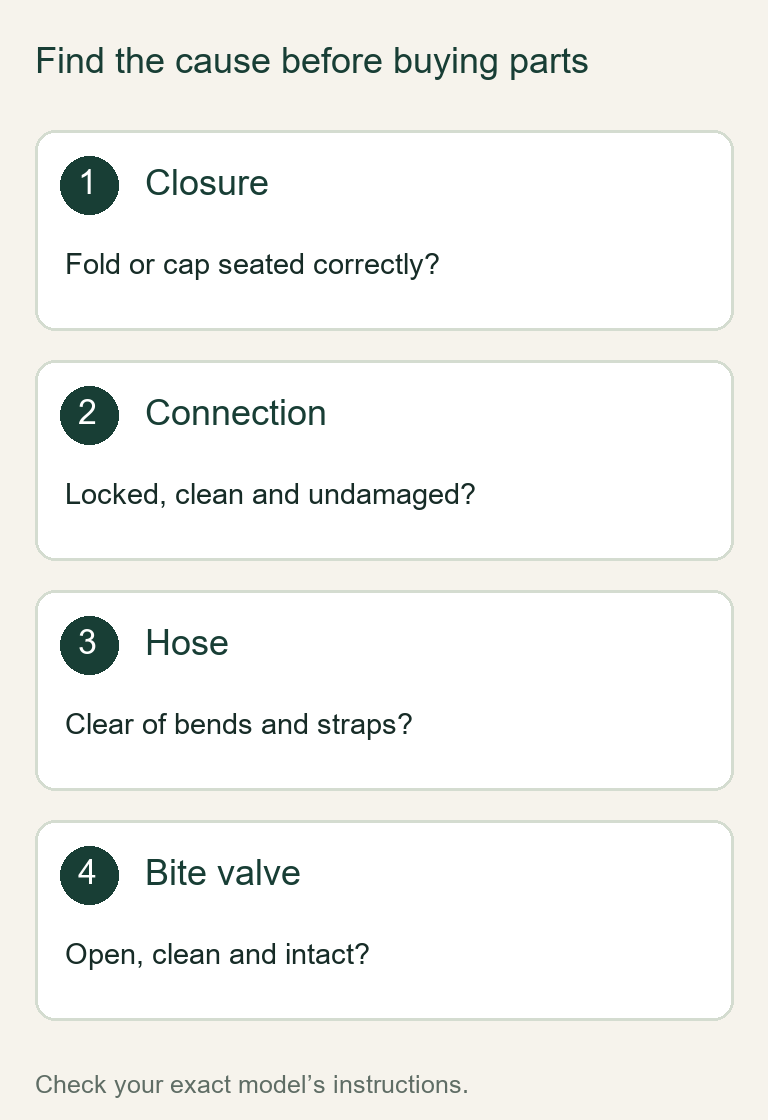
Close it in the maker’s stated way and keep below the marked maximum fill line. For HydraPak’s folding Slide-Seal top, the maker describes folding the moulded opening down once and sliding the closure fully across the folded area. A screw cap has a different sealing routine; check its threads and sealing surface rather than applying that fold-over method.
Look for grit, trapped fabric or a crease across the sealing area. Clean and reseat only the parts the maker permits, then check again. Don’t force a resistant slider or overtighten a cap in an attempt to cure a leak. If the top is difficult to operate, use the model’s care guidance.
Check the connector without improvising a repair
For a detachable hose, check that the connection is fully inserted and locked according to its instructions. After removal for refilling, an incompletely seated fitting is worth ruling out before buying another reservoir.
Inspect any visible seal for dirt, displacement or damage. Keep the connector clean and use the specified replacement if a seal is missing or torn. A near-matching O-ring from an assorted box may look convincing while having the wrong size or material.
Some connectors shut off the pouch when the hose is removed. That feature does not mean every joint will remain sealed when loosely assembled, and other designs may behave differently. Follow the instructions for your exact connection; keep the check over the sink.
Stop using a pouch with a split seam, puncture or damaged outlet. Ask the maker about its approved repair, spare or warranty route. Adhesive, oil or sealant chosen by guesswork can create another problem in the drinking path.
If flow is poor, start with the valve and hose route
Identify how your valve opens. HydraPak’s guidance distinguishes a rotating lock on its Blaster valve from the moving handle on its Comet. With the correct lock open, bite the soft drinking surface and draw water as instructed; don’t assume a valve that looks similar uses the same control.
Check that any protective cap is clear, then follow the tube from end to end. Look for a tight bend, a section trapped beneath a strap or a connector pressed against another item. Try the straightened assembly outside the pack, then put it back and repeat. Flow that changes between those positions points you towards the packing or hose route.
If it remains difficult to drink from outside the vest, inspect the valve and removable parts for residue using the maker’s cleaning instructions. Don’t poke the drinking slit open with a sharp object or cut it wider. If a soft biting surface has torn or no longer closes, identify the approved replacement.
HydraPak sells replacement bite-valve components and explains that wear in the soft sheath can cause leaks. Choose the part for the exact valve; a replacement sheath and a complete valve assembly are different purchases.
If it leaks only when the vest is packed
Recheck the closure and outlet after placing the filled reservoir in its intended sleeve. A jacket wedged across the top can disturb a folded closure, and a firm item can press on a connector. Leave the relevant parts room to sit in their proper positions rather than tightening the harness around a crowded rear pocket.
Use the sleeve’s intended hanger and keep the tube from pulling the pouch upward. If the reservoir is too long, too wide at its closure or too thick when filled, rearranging the same overfull pocket may not solve it. Check the reservoir shape against the pack’s requirements.
Water movement and an audible slosh are different from a leak. Check for actual moisture before replacing a sound pouch because it makes a noise. Reducing trapped air may help with sound on models whose instructions describe doing so; it will not repair a damaged seal or make an unsuitable reservoir fit.
Choose the smallest reliable fix
A correctly reseated closure or a hose freed from a strap needs no new purchase. A worn valve or damaged removable seal calls for the maker’s specified spare. A damaged pouch, unavailable component or poor fit may make a complete replacement the more practical choice.
After cleaning or changing a part, repeat the outside-the-pack check and the loaded check before a longer outing. Our cleaning and drying guide covers the routine between runs.