Some links in my articles are affiliate links. I may earn a commission when you buy through them.
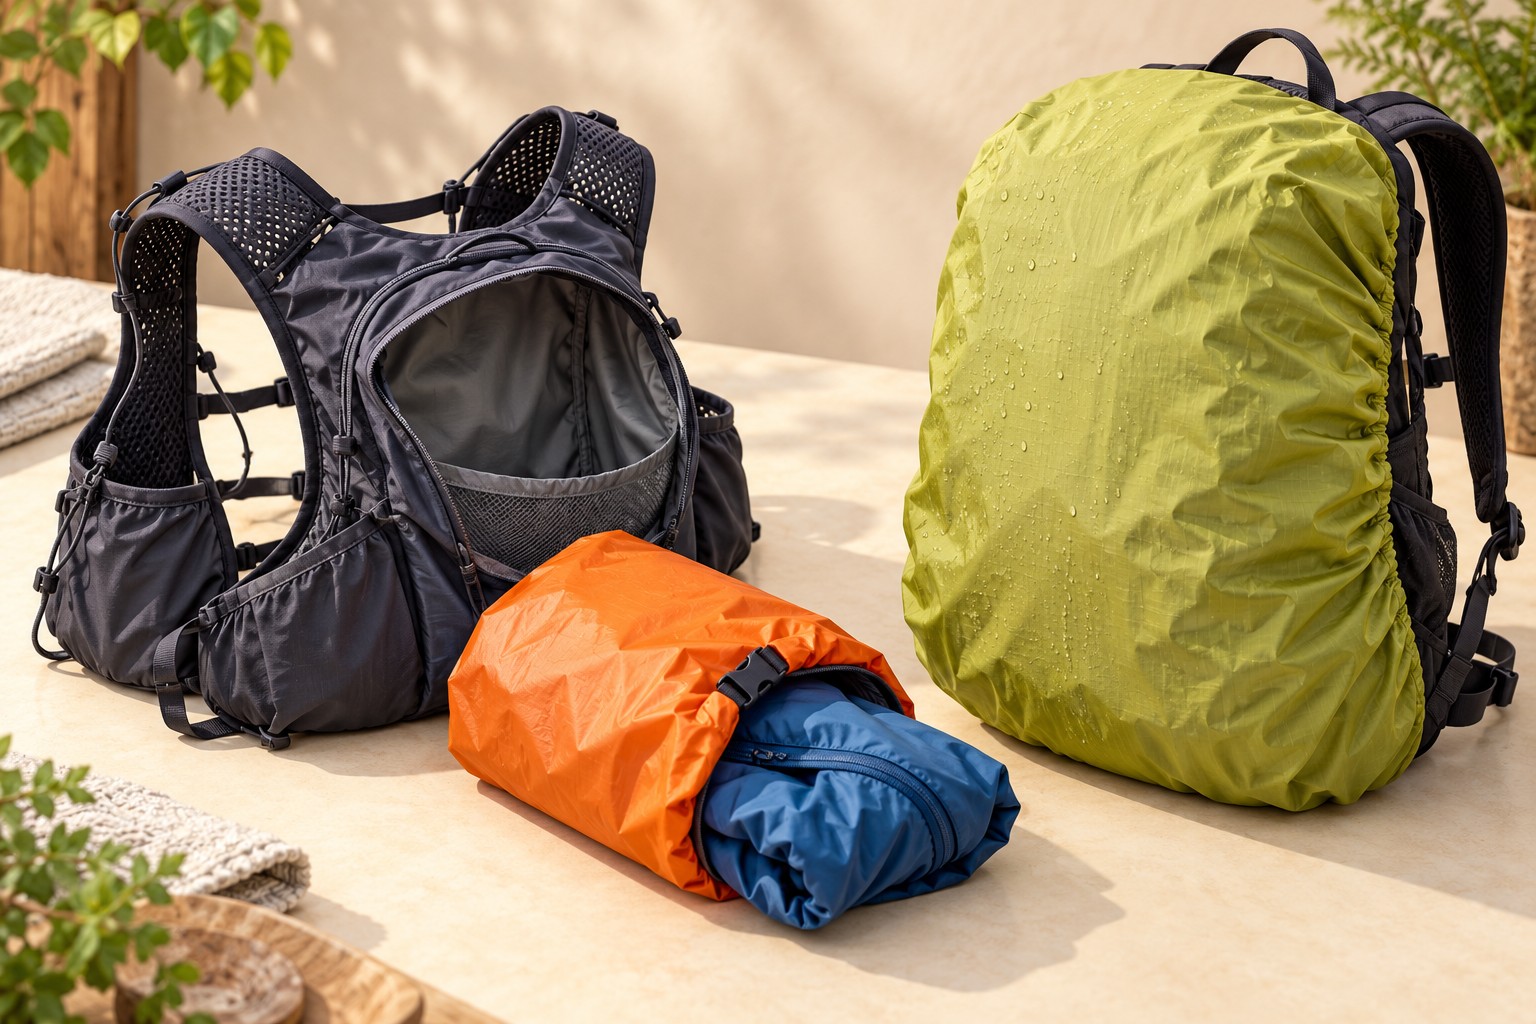
A wet run is easier to face when you know there is a dry top waiting in your pack. For a small running vest, I would start with a carefully closed dry bag around the spare clothing. For a larger commute backpack, a well-fitting rain cover can also help keep the outside of the bag drier. You can use both when the load and weather justify it.
Decide what must stay dry: the pack itself, a change of clothes or your electronics. Clothes and a phone may need different protection. The kuou dry bags are a useful starting point for separate clothing bundles; our dry-bag buying guide compares that approach with using one lightweight sack.
Lay out what you will carry before ordering anything. A thin spare layer in a narrow vest needs very little packaging. Work clothes, a towel and a laptop create a different packing problem, especially if you will open the bag during the journey.
Your run
Where I would start
Check before buying
Small vest with a spare layer
A small internal dry bag
The filled, closed bag fits through the rear opening without stretching it
Commute with clothes and lunch
Internal protection for dry clothes; add a fitted cover for the pack exterior
The cover stays secured around the loaded bag and leaves straps usable
Several items you need at different stops
Separate small sacks, or a liner with frequently needed kit outside it
You can reach one item without opening all the protected clothing
If your existing pack includes a cover, try that first. If you are still choosing a pack, get the carrying fit right before buying weather accessories. The hydration-pack guide helps match drinks, layers and fit; the commuting guide covers the larger workday load.
What a rain cover helps with
A fitted cover helps shield exposed outer fabric and pockets from rain, which is useful on a commute with a larger backpack. Check how easily it comes off when you need the main compartment.
Look closely at the back of the fitted cover. The shoulder straps and contact area still need to meet your body, so an ordinary open-backed cover does not enclose the pack like a sealed bag. Check what remains exposed on your particular pack, including the top opening and any cable or drinking-tube exits.
Choose a cover for the loaded shape of your bag, using the maker’s size range. A cover intended for a much larger hiking bag may sit loosely on a small running vest. Check how it fastens, then jog with the actual load: watch for slipping edges, loose fabric and interference with your arm swing.
Make sure the cover does not hide a rear light or useful reflective area. Put the covered pack on with your usual jacket and check from behind. Keep flask pockets, controls and any kit you need quickly accessible.
Inside a running vest: protect small bundles
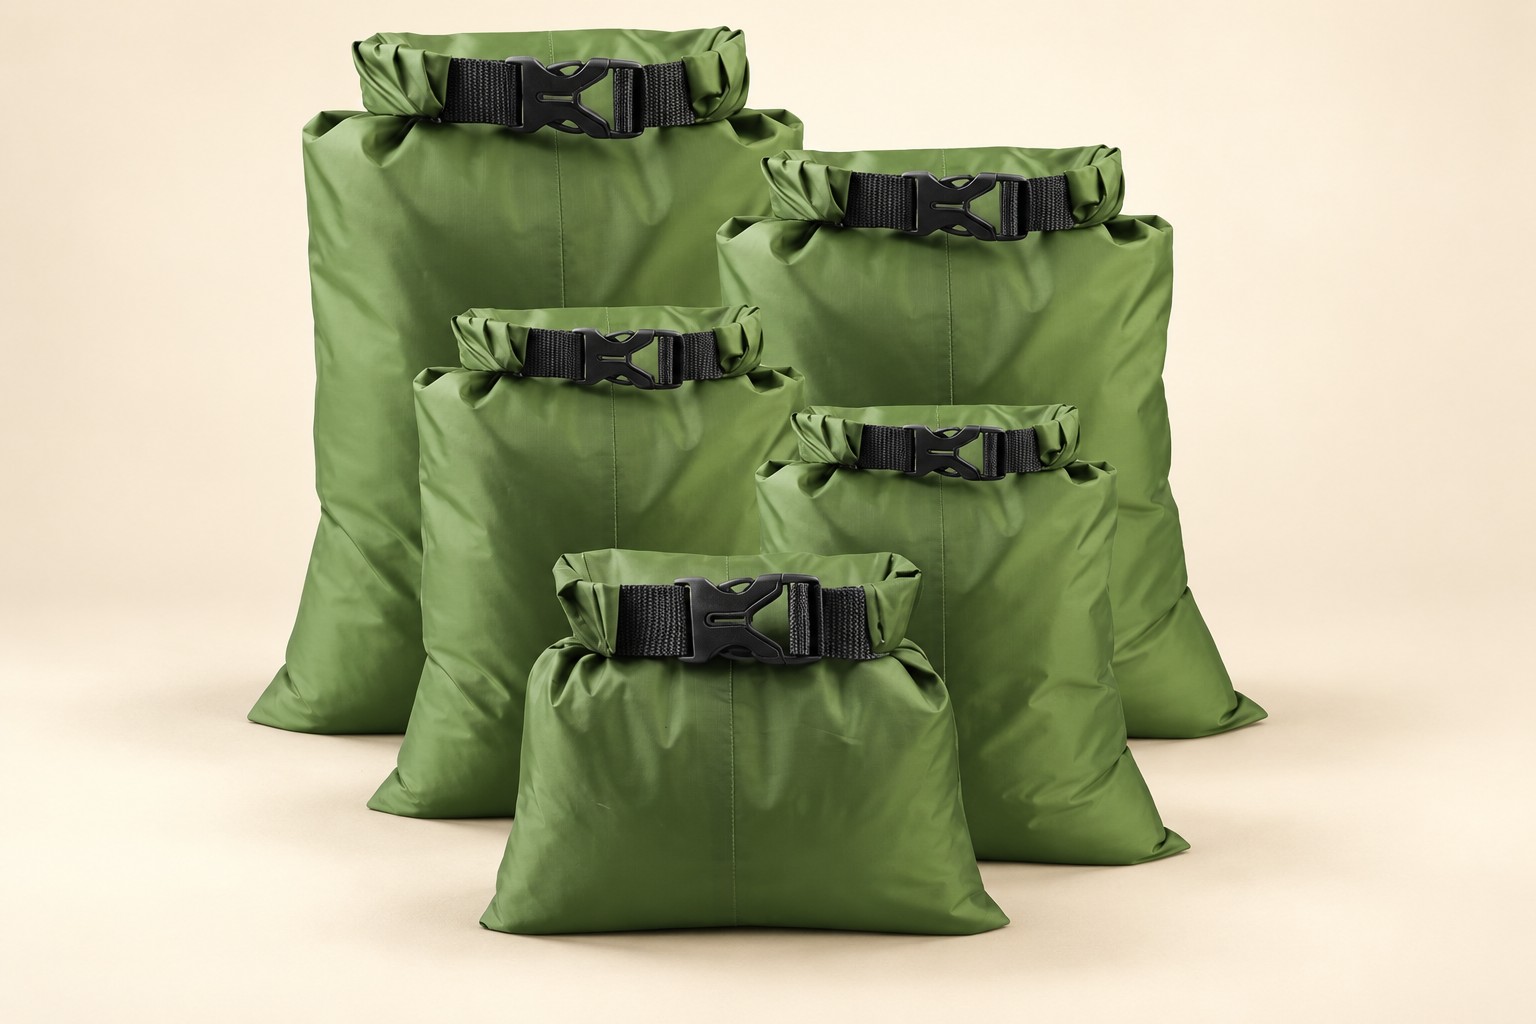
The kuou set gives you five small sizes, from 1.5 to 6 litres, so you can choose a bag around the clothes rather than fill one large sack with air. The light, coated fabric settles around spare kit inside a pack; roll the tops and fasten the buckles to close them.
I keep the finish layer in its own bag so I can reach smaller essentials without opening it. Leave your regularly used drink and food in suitable reachable pockets; you don’t want to undo a buckle for every gel.
Allow enough spare material for the closure, squeeze out excess air and follow the bag’s rolling instructions. Then try the closed bundle through the vest opening. A sack that fits the compartment on paper can still be awkward once its mouth is rolled and buckled.
If you prefer one protected clothing compartment, a correctly sized pack liner or single sack may be simpler. Leave room to close it properly and keep items you need repeatedly in accessible pockets. The size and closure checks help with either arrangement.
Check the things a cover cannot keep out
A leaking reservoir or bottle puts water inside the pack. An external cover cannot catch it before it reaches the clothing. After filling, close the drink container, check the hose connection where fitted, and look for drips before packing it beside the dry layer.
Keep the protected clothing bundle separate from the drinks system where the pack allows. Check that a hard buckle or sharp object is not pressing into the reservoir. Our flask-versus-bladder guide explains the carrying choices if you are reconsidering that layout.
A wet jacket also brings moisture inside when you stow it. Give it a separate place, and keep it away from the finish clothes when opening the pack. At a stop, wipe or shake water from the outside of a sack before opening it somewhere sheltered; otherwise the wet exterior can drip onto the contents you were protecting.
Give electronics their own protection
Choose a phone pouch for the wet conditions you expect, and check both its protection rating and the fit with your usual case on. A light clothing sack is a convenient organiser, but don’t assume it will protect a phone if it ends up underwater. The phone-pouch checklist covers closure, fit and screen access.
For a laptop commute, cushioning and moisture protection are separate checks. Measure the device inside the sleeve or enclosure you intend to use, including the opening you have to pass it through. Keep hard charger plugs away from the screen side and liquids separate. An ordinary padded sleeve may have no stated waterproof protection.
Try the packed bags at home with dry, inexpensive contents before taking valuable electronics into bad weather. Check the maker’s closure instructions and intended use; do not improvise an immersion test with the device inside.
Leave room for the wet journey home
Pack for the less tidy load you will have afterwards. A damp top and towel need a separate place from the remaining dry clothing, and a rain cover needs somewhere to go when you take it off. Avoid pushing the wet cover into the same open sack as the dry layer.
For a race, check the current organiser’s dry-kit requirements before choosing your bags. Use the Race Day Pack Planner to list what you will carry and what can stay in bag drop. A spare top needed on the route belongs in the carried kit, where you can reach it.
After the run, empty the pack and open the sacks to dry thoroughly. Check for grit in closures, damaged coating or worn seams before repacking. Put the next dry layer in only once the storage itself is dry.